Add a new device
How to add/create a new device
Video Guide
Step 1: Click the Manage button
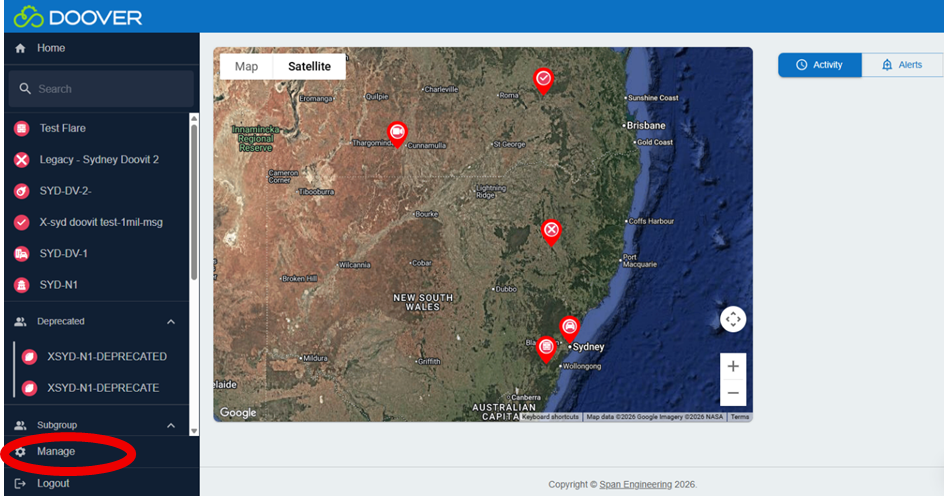
Starting on the Home Page.
Find the 'Manage' button on the control panel on the lefthand side of the screen. Click the Manage button to open the menu and access the options below it.
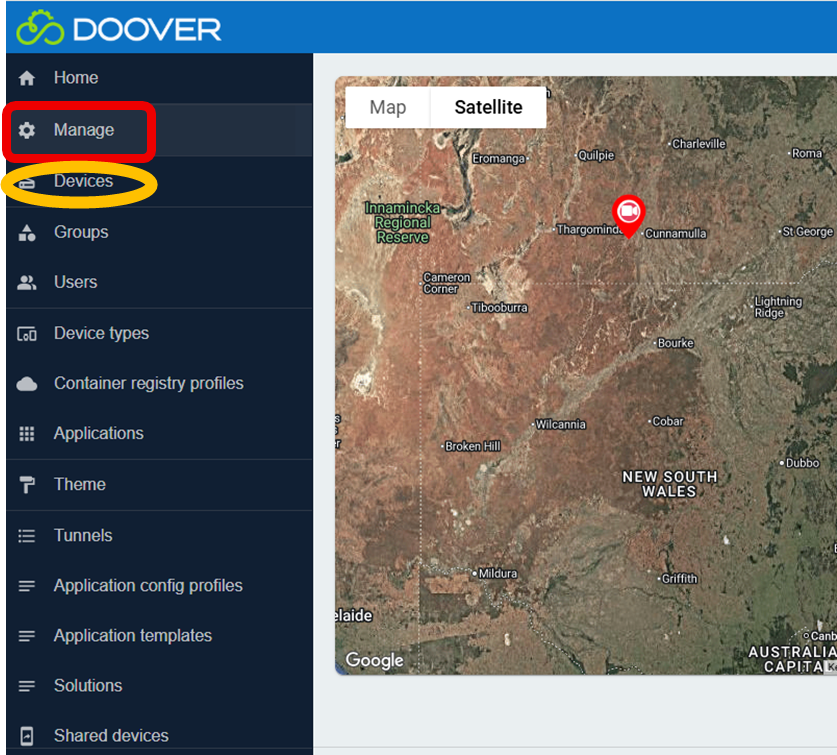
Step 2: Click the "Devices" button
Directly under "Manage" you will find the option "Devices". Click on Devices, the page will change.
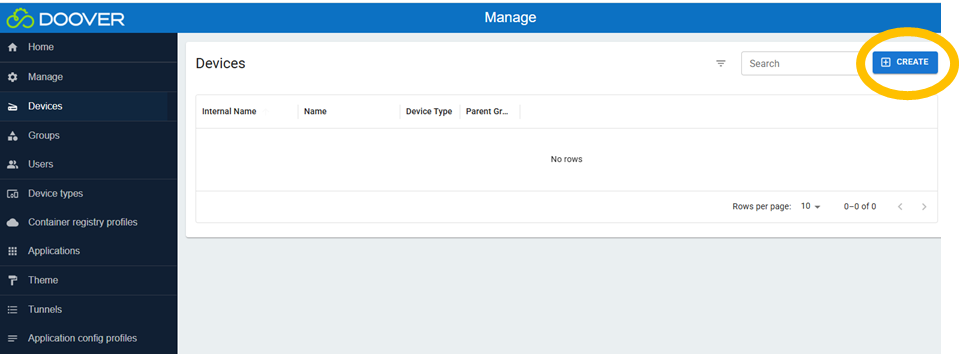
Step 3: Click the blue "+ Create" button
There will be a blue button on the top righthand corner titled "+ Create".
By clicking on the '+ Create' Button you are able to add/create new devices.
Details will need to be added, before you can complete this task. Ensure you have this information at hand.
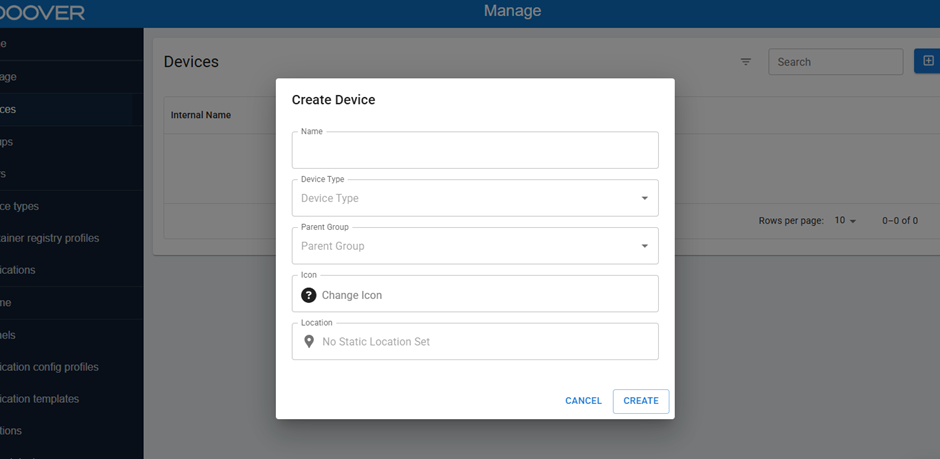
Step 4: Fill in the device details
When creating a new device, you will see several fields which need to be completed to enable the device to be created. If you fail to include all the required information you will be prevented from creating a device.
- Name
Start by typing in a name you would like the device to be known by.
- Device Type
Select what type of device you are creating form the drop down menu.
- Parent Group
This is the group to which the device will belong to.
- Icon
Select an Icon for the device. Doover has a wide range of icons you can select from to suit whatever look you are going for.
Once you have found an icon you like, click on it to select it.
- Location
You can also add a location for your device, which will be used to display the device on a map. Some devices will determine their location automatically, but if you manually add a location, this will override the automatic location.
Step 5: Connecting the device
Click the "Create" Button to connect the Device