Add a new Device Application
Video Guide
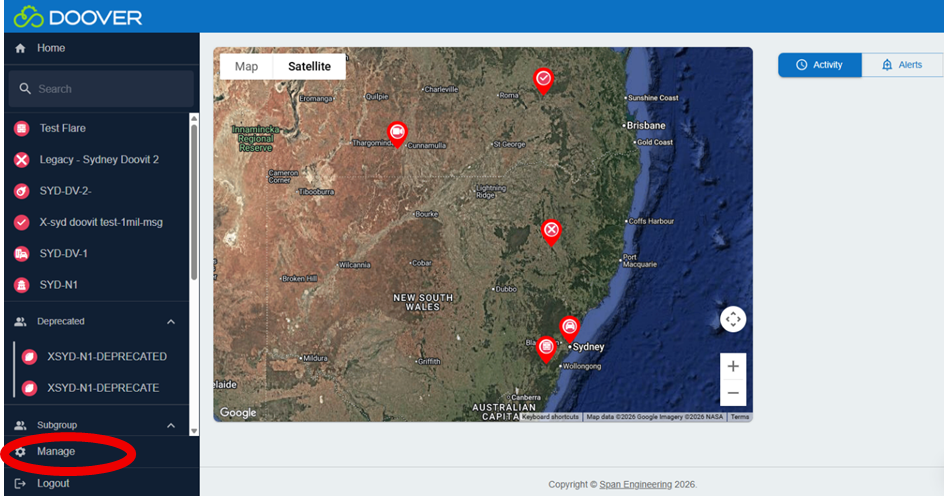
Step 1: Click the Manage button
Starting on the Home Page.
Find the 'Manage' button on the control panel on the lefthand side of the screen. Click the Manage button to open the menu and access the options below it.
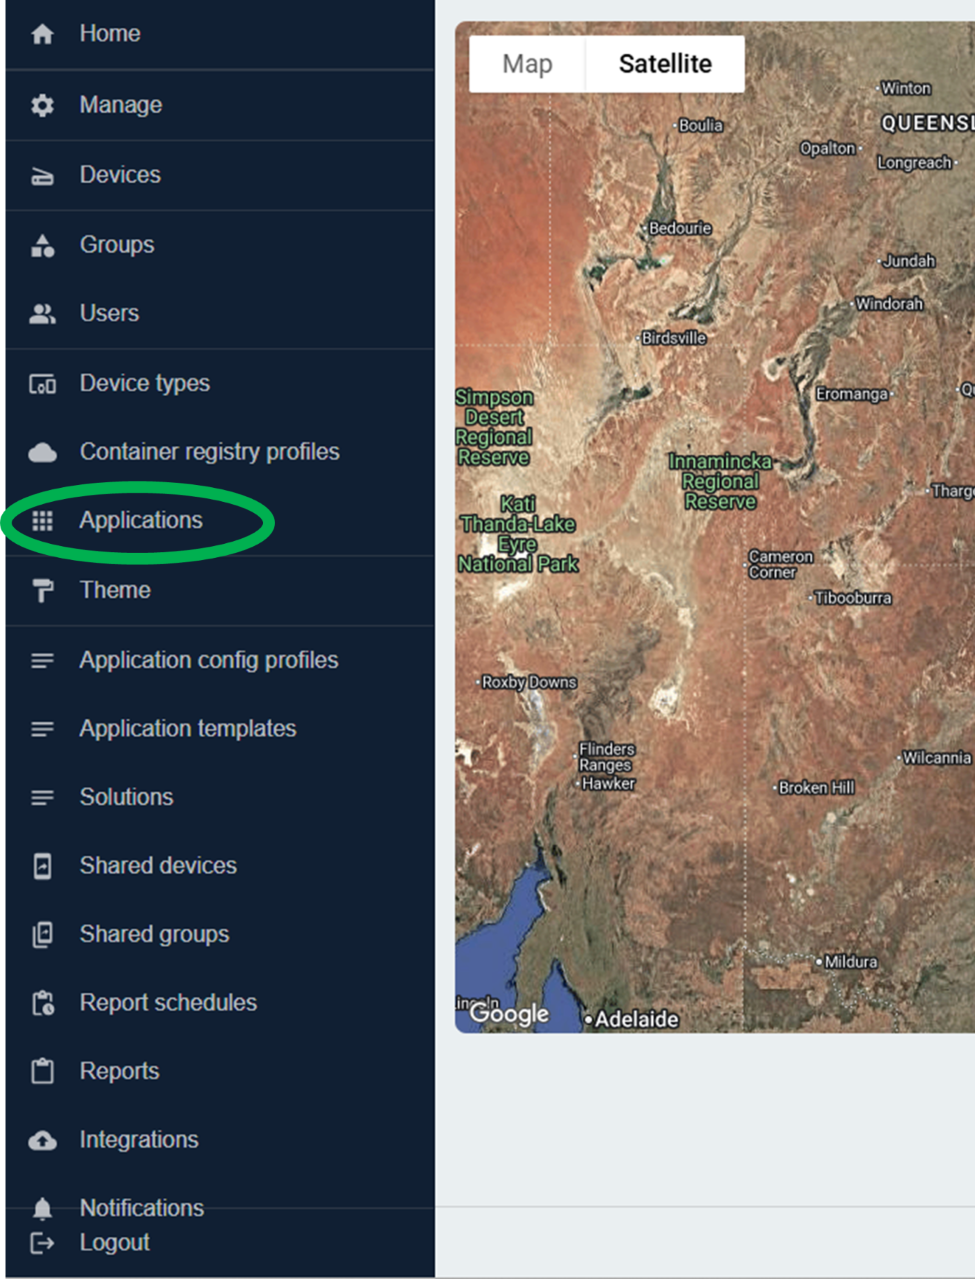
Step 2: Click the "Application" button
Under "Device types" you will find the option "Applications". Click on Applications, the page will change.
Step 3: Click the blue "+ Create" button
There will be a blue button on the top righthand corner titled "+ Create".

By clicking on the '+ Create' Button you are able to add/create new Application.
Details will need to be added, before you can complete this task. Ensure you have this information at hand.
Step 4: Fill in the details
Details required to add a new Device Application
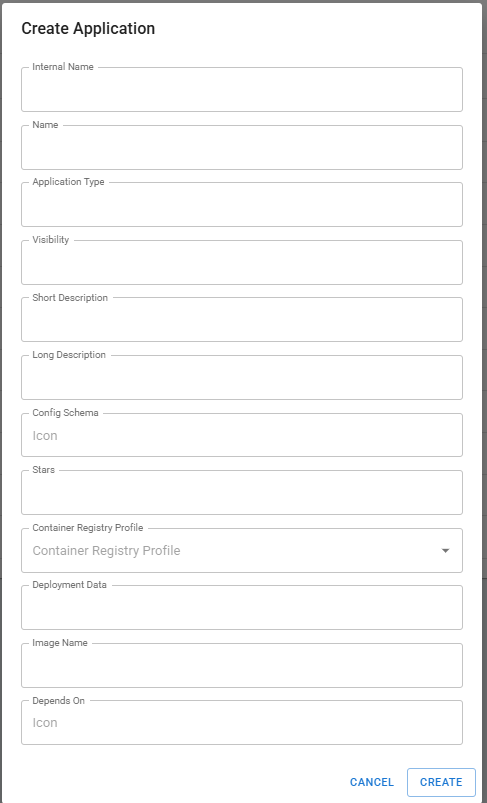
Next add the file path to the Config File. This will typically be a JSON file, and describes the basic structure of the device application. This will default to doover_config.json. For more information on the config file, see the Config File page.
Optionally, you can add a Deployment config. This will then be the default deployment config for any devices using this device application that do not specify a deployment config.
Step 5: Saving the device application
Once you've hit "Create", your Device Application is ready to go!